I have a large collection of physical video games. Each passing year, this somewhat prosaic characteristic becomes more and more notable, both in terms of uniqueness and — considering the age of much of my collection, coupled with the unyielding passage of time — complexity. With the trajectory of video game distribution hurtling toward a digital-only future, my insistence on preserving some of its history keeps me connected to the objects and, more importantly, the experiences they contain in a way that a digital library cannot. While I understand and even appreciate many parts of this ongoing digital transition, I grieve the passage of an earlier world in which games had a kind of permanence unencumbered by server status or mercurial licensing agreements and instead just worked.
Whether inserting a game into a console results in the desired outcome depends on a litany of factors, including but certainly not limited to: storage medium; storage conditions; soldered battery status; video signal; disc drive motors; disc drive lasers; motherboard damage from failing capacitors leaking electrolytic fluid all over your increasingly rare and fragile circuit board, eating away at the traces and making the entire thing maybe not work. I sometimes spin around in my office chair to admire my collection, only to be reminded that we are both warriors in a battle against the same final boss: the slow, gradual degradation of the complex web of systems that make us work.
While I’m no stranger to the allure of video game emulation, even my preferred solution — the wonderful MiSTer, powered by a kind of shape-shifting silicon that lets it emulate hardware platforms with impressive accuracy — can still leave me lacking that connection to the physical game.
But what if there were a way to split the difference and enjoy the accuracy and simplicity of a MiSTer but feel some connection to the collection I’ve maintained all these years? Enter: the humble NFC tag.
NFC stands for near-field communication, the same technology that lets you check out from a store using your phone or watch. In that scenario, both your device and the point-of-sale device are powered, or “active,” and establish an encrypted channel via Apple or Google Pay to transmit your banking information. That seems really complicated. In this instance, we’re talking about a “passive” connection in which one device broadcasts a magnetic field (this is the NFC reader) and the other device (an unpowered sticker or card with an internal antenna) modulates that field in order to transmit a simple text-based payload — namely, the location of a ROM file to be loaded.
I first spotted developer Wizzo’s contribution to the MiSTer scene in a random tweet, watching as someone tapped an NFC card onto an arcade cabinet to load a game. My mind raced.
Certainly, the mechanics of an arcade cabinet make loading new arcade boards cumbersome but also requires owning arcade boards. This is, of course, the great ethical dilemma of emulation. If you don’t own an actual arcade PCB of, say, Cave’s excellent 2001 horizontal shmup Progear, then are you entitled to emulate it? What if you buy it for $1.99 from Steam as part of the Capcom Arcade Stadium package? What if you have spent $20 on it in quarters in the past? What if you just really like it?
To add another wrinkle, what if you do have the PCB of Progear or, in my case, a large collection of over 1,000 console games? You could naturally invest in an open-source cart reader, like this handsome one from Save the Hero Builders, and dump all of your cartridges. For disc-based games, you could follow Redump’s authoritative guide here — note: use a compatible disc drive for CD-ROM dumping — or you could avail yourself of a Google search for “[game title] and [Redump]” and see what you come up with. I can’t answer these questions for you, but I trust if you’ve made it this far into this piece, you’ve already arrived at some comfortable resolution when it comes to the provenance of your video game ROM files. Safe travels out there!
So far, we have both video game ROM files (check) and a general sense of ennui from scrolling through a list of video game ROM files (also check). So I finally committed to the NFC concept, and with one quick order, I was on my way to addressing the latter by embedding small NFC stickers capable of delivering a 504-byte payload inside some of my favorite games, thereby turning my Doom 32X cartridge into an access badge capable of loading that game. (Or, in this specific instance, the incredible Doom 32X Resurrection 3.1 mod, which is also playable on original hardware.)
Now, for the how-to section of this report.
First, this project is BYO MiSTer. For more on just what a MiSTer is, you can read my explainer on Polygon or this excellent piece from Sam Byford here on The Verge. If a Raspberry Pi or some other retro gaming solution is more your speed, there is some hope for you: the project page says it “currently supports the MiSTer FPGA platform, with more [platforms] planned.”
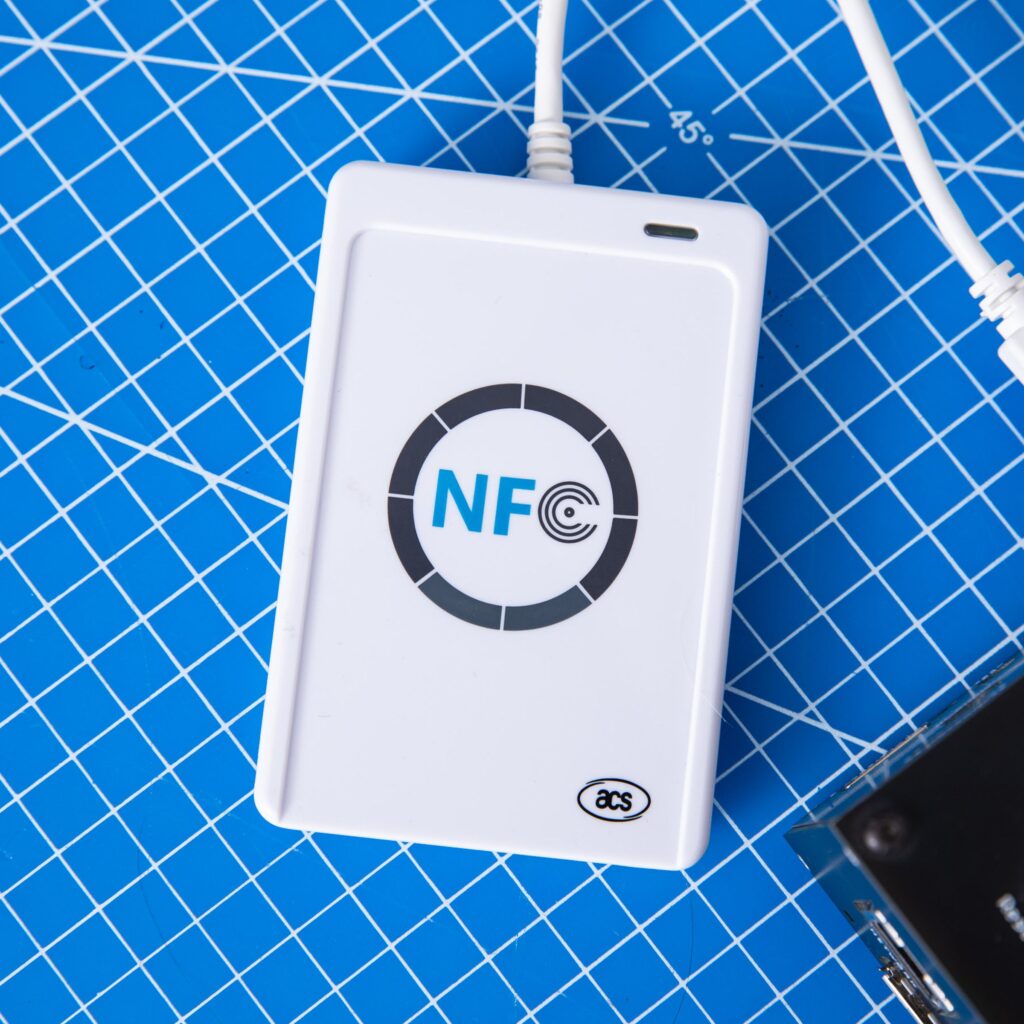
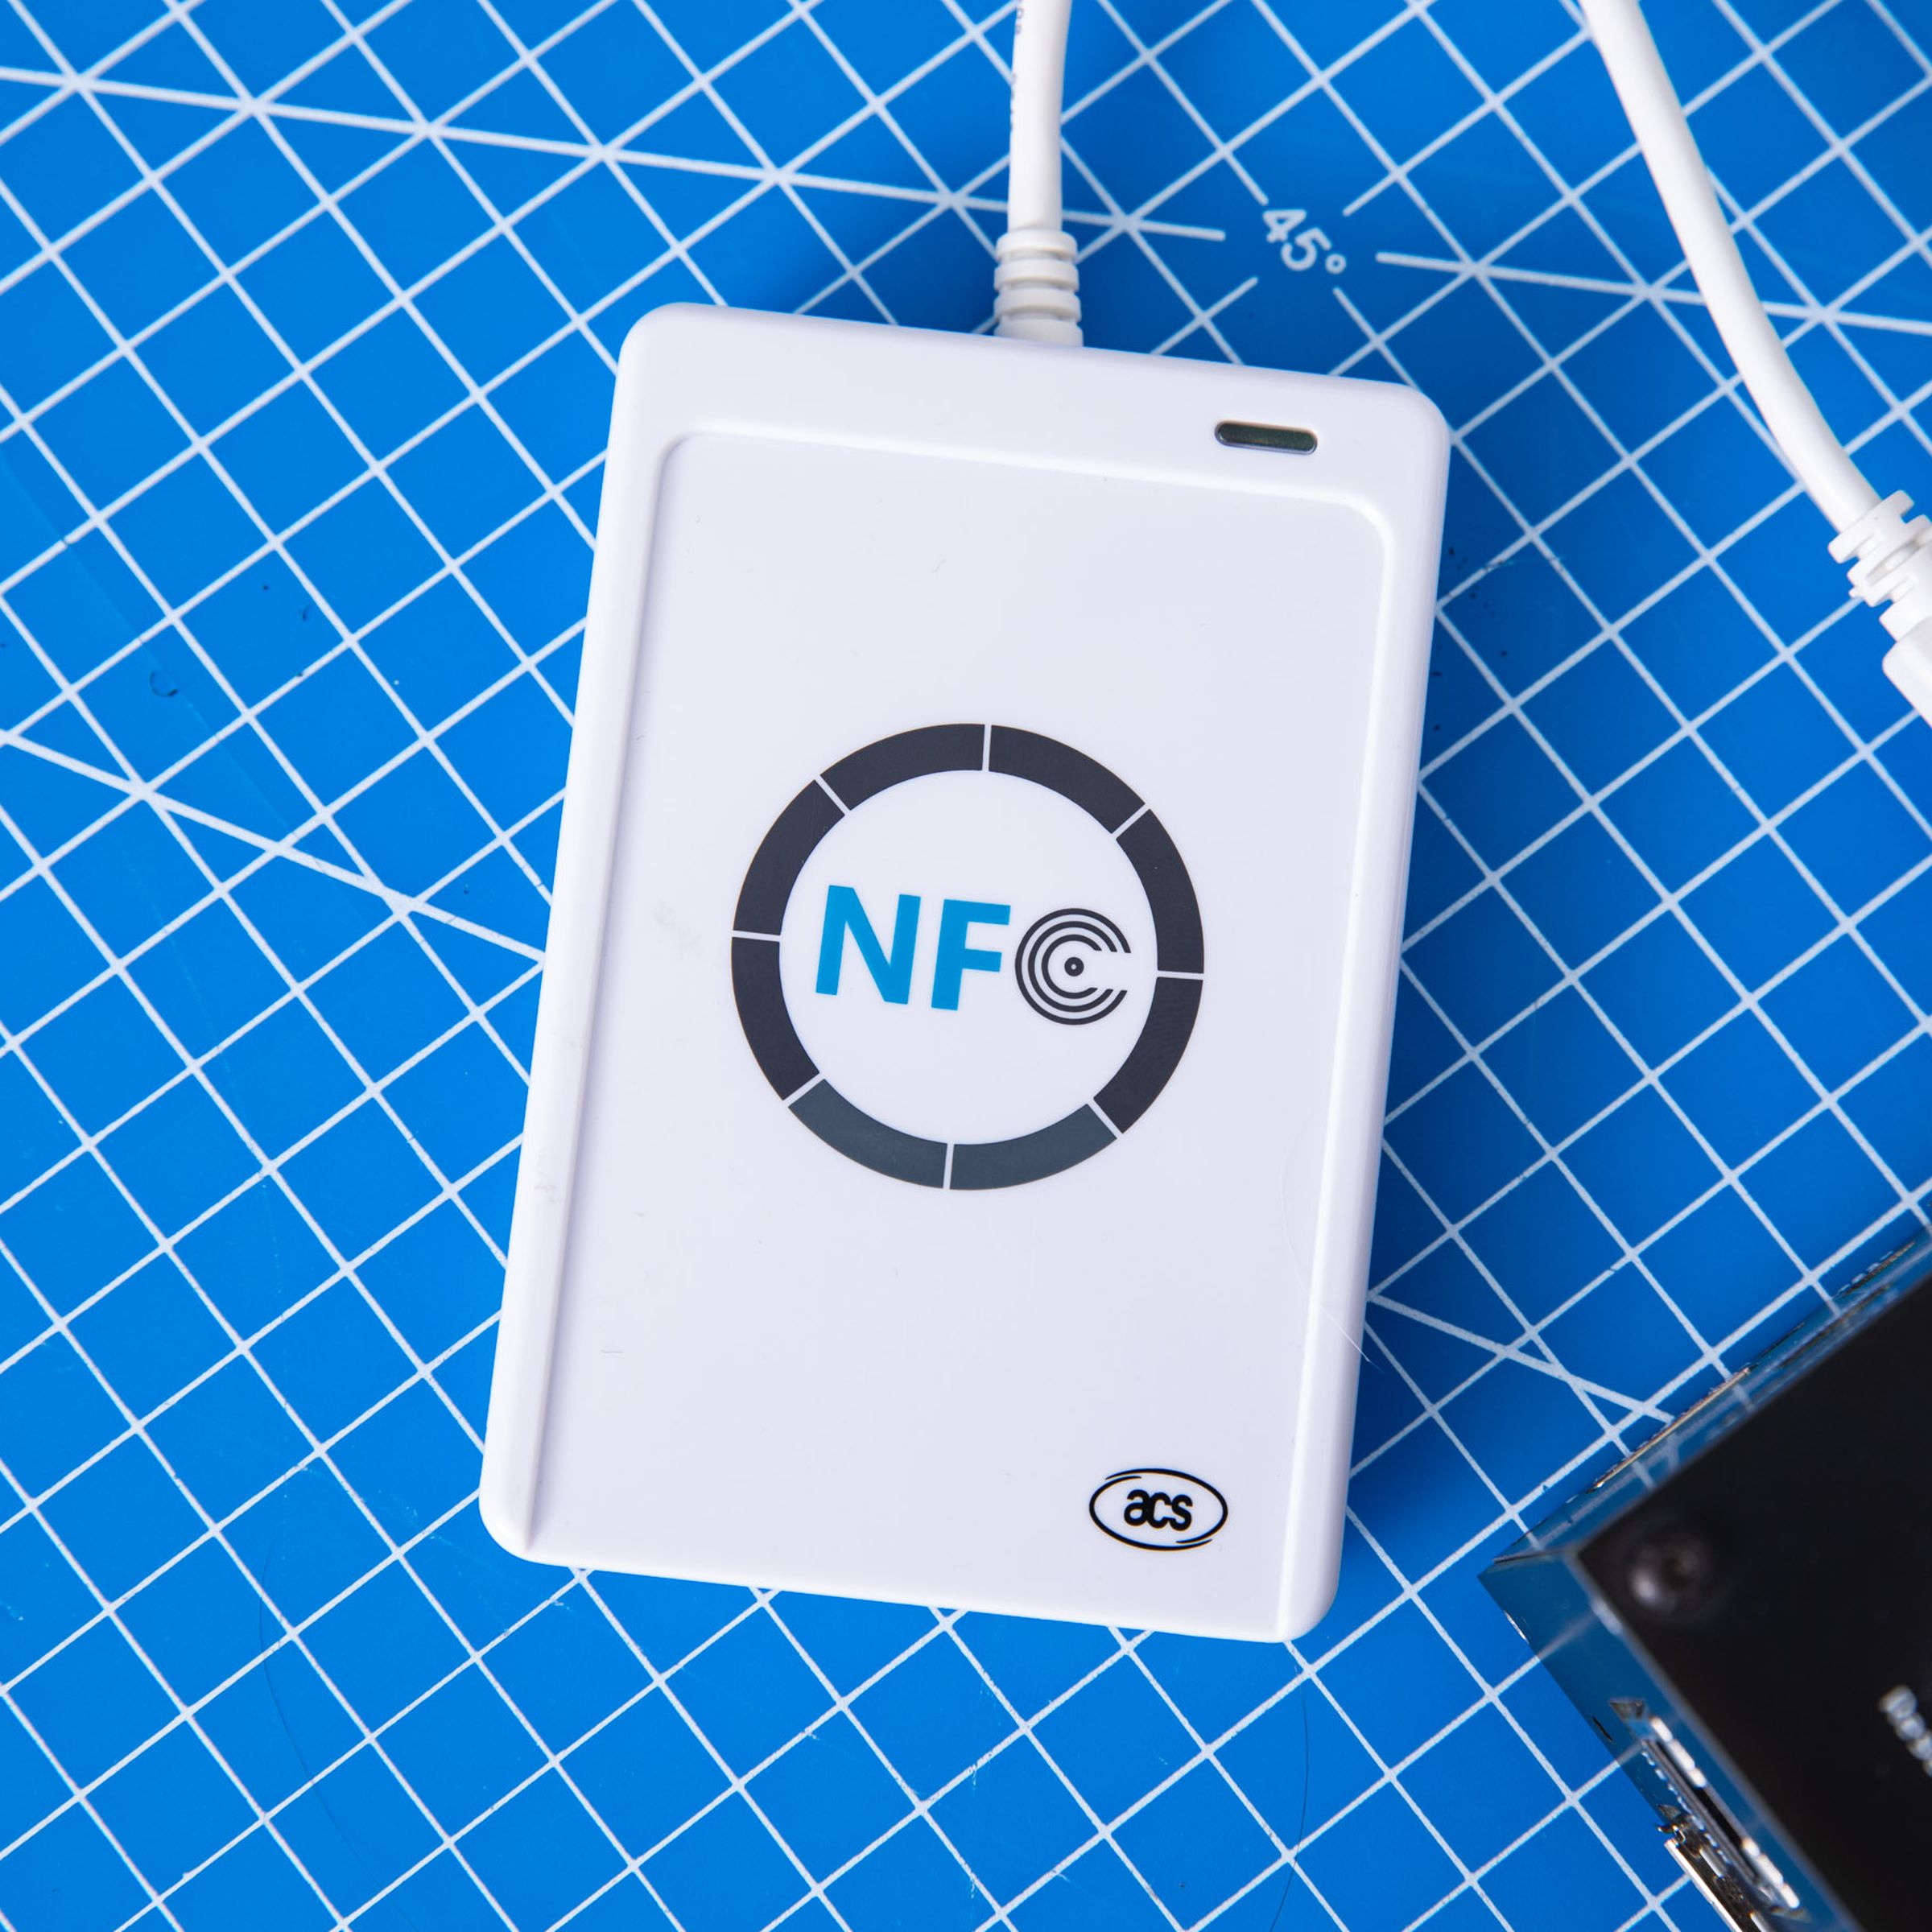
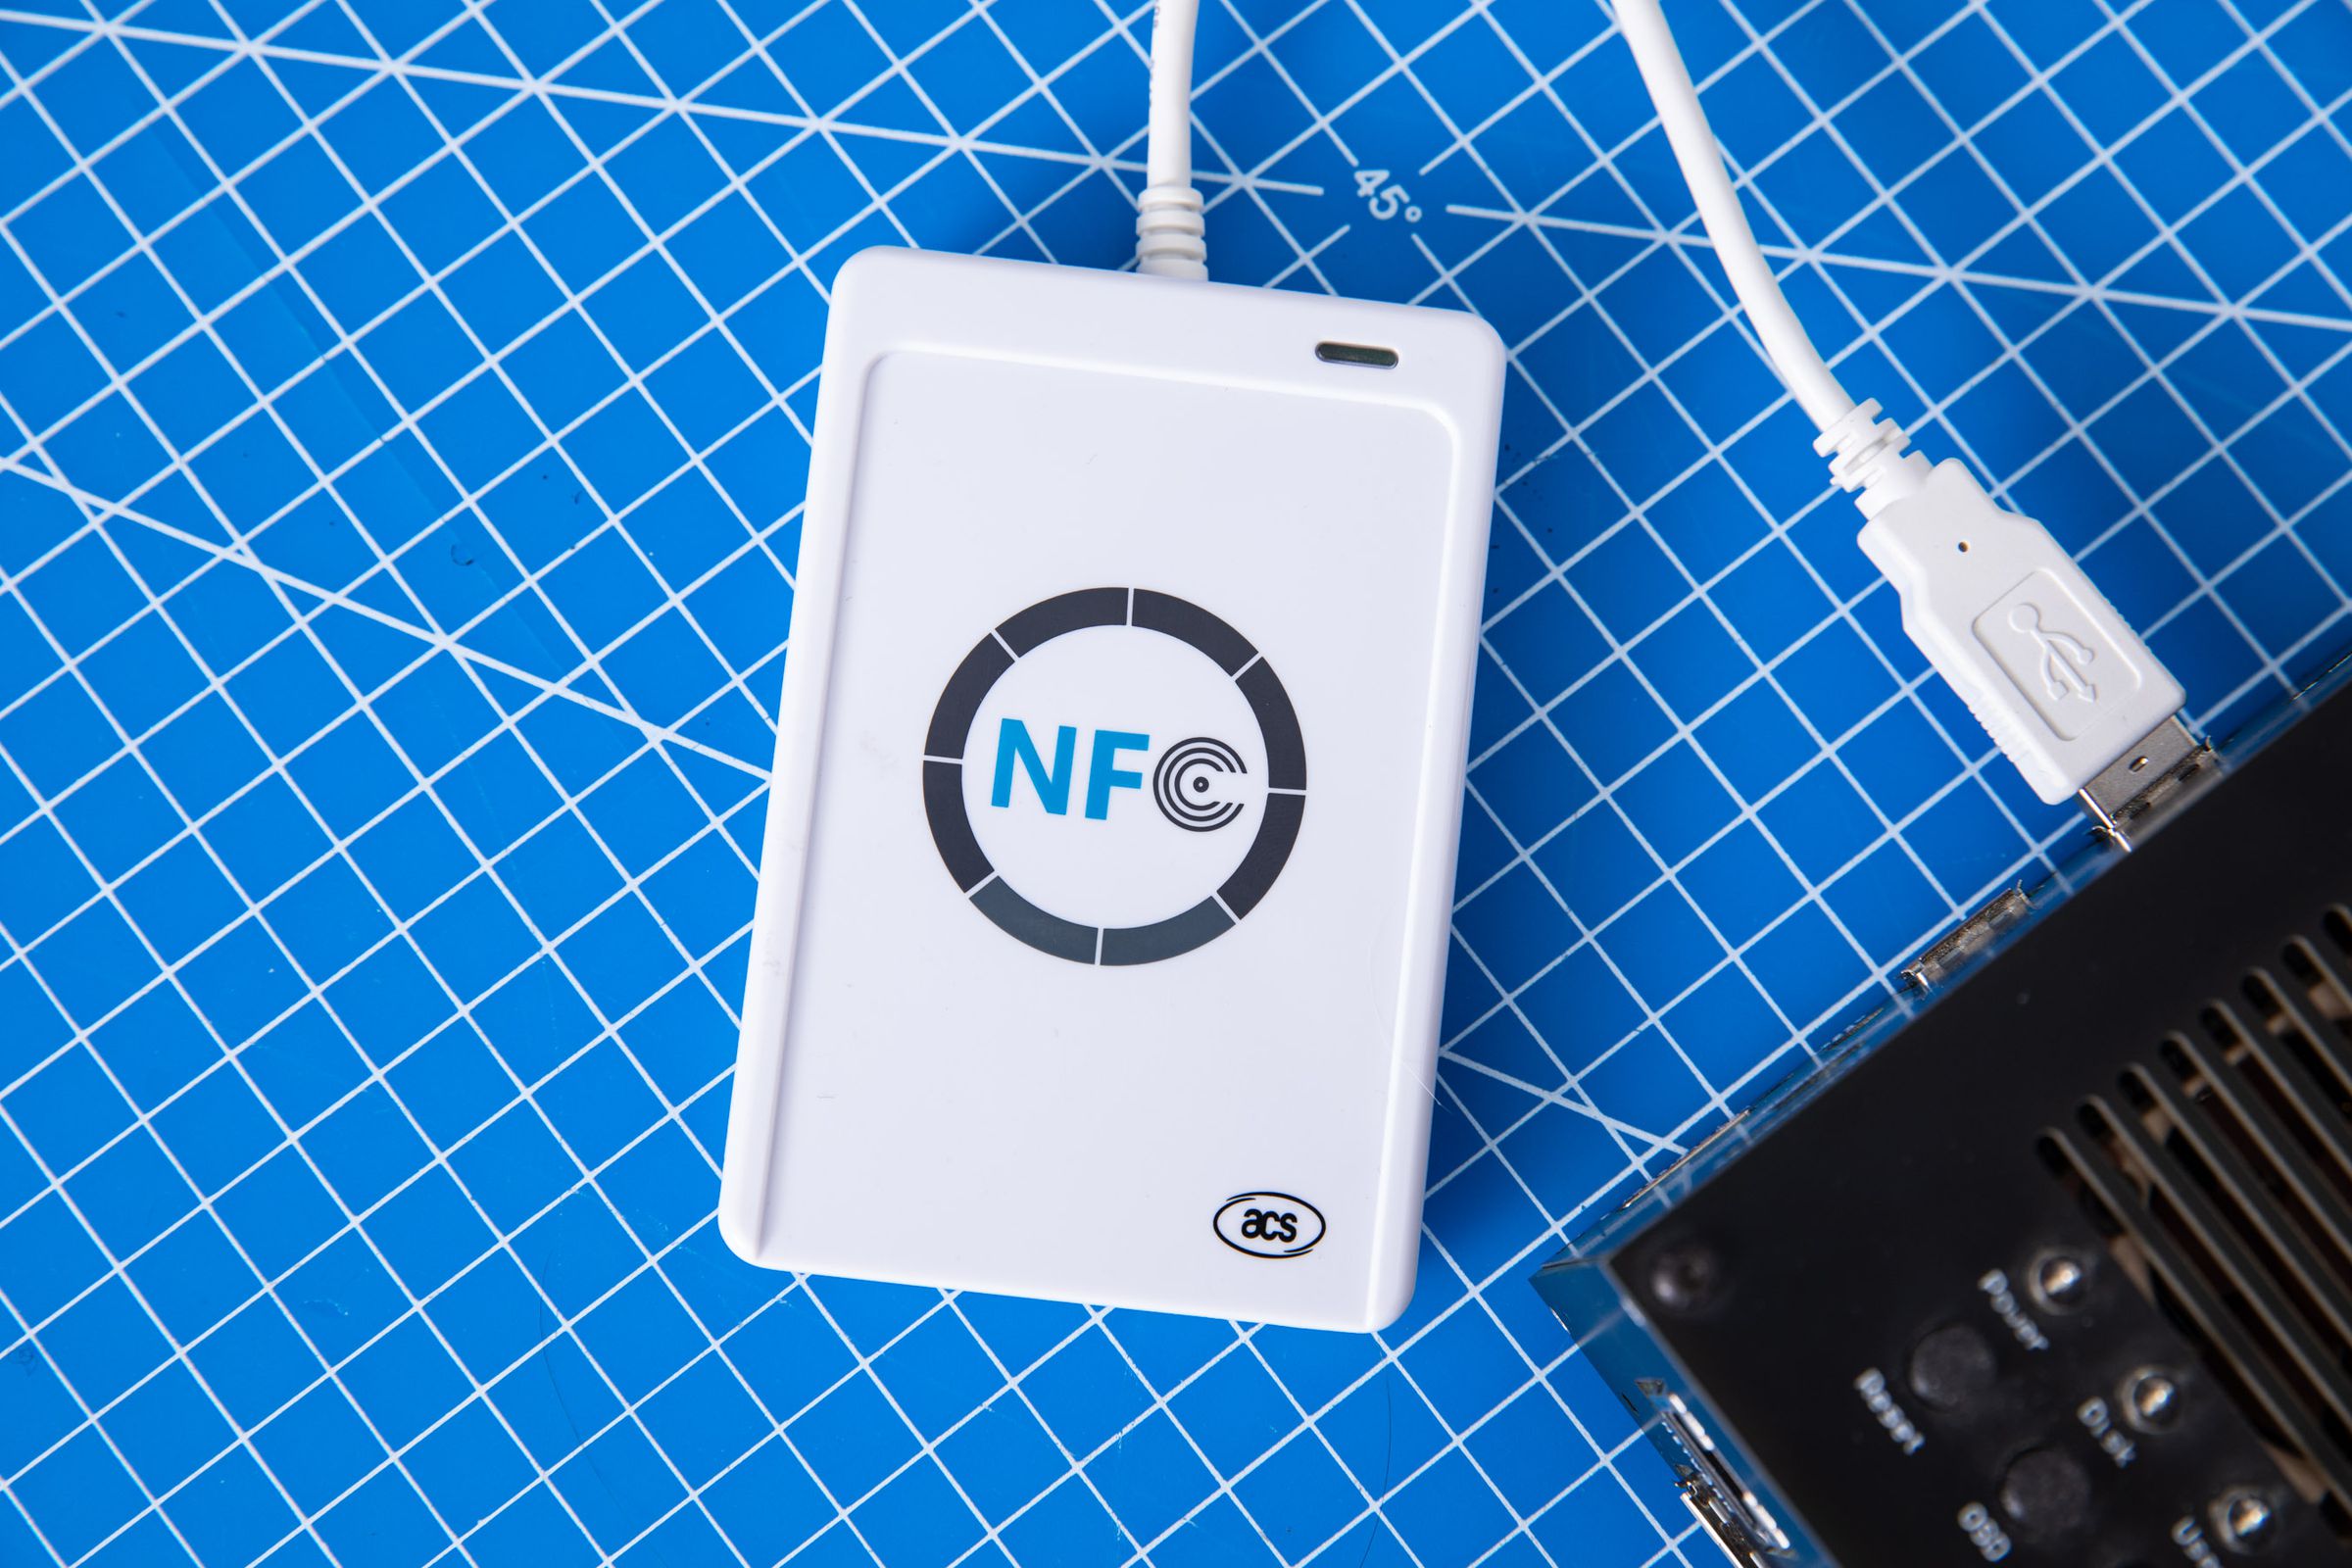
Next, you’ll need an NFC reader that is compatible with the MiSTer. While DIY options exist, the project’s GitHub page recommended a plug-and-play USB option using the ACR122U hardware for reading and writing tags. “The ACR122U has been cloned for years and is readily available by searching for ‘ACR122U’ on sites like Amazon, eBay, and AliExpress,” the page states. I ordered this one off AliExpress; however, the GitHub page cautions that while “most listings are fine” some variants don’t work with this tool, so they recommend not buying “the literal cheapest listing available.”
Next, you’ll want to order some NFC tags. There are a handful of different options, with the main distinctions being storage capacity and form factor — there are cards, key tags, and stickers. I mostly stuck to the NTAG215 standard, which packs 504 bytes of storage, enough for the full path of even the longest-named ROM files in your collection. For form, it really depends on your use case. My ACR122U came with 10 cards, which I will get into below, but for the purposes of this project, I went with these stickers from Amazon. At one inch in diameter, they should fit perfectly and discretely inside various video game cartridges and jewel cases (though, at 22 cents each, I wasn’t going to attempt to label my entire collection).
With the physical stuff out of the way, it’s software time. Installation instructions are on the project’s GitHub page, but if you’re already running the wonderful “Update All” script, you just need to enable the “MiSTer Extensions” repository in the “Tools & Scripts” menu; otherwise, it’s a simple matter of copying the latest release to the “Scripts” folder on your MiSTer’s SD card.
With the reader and the tags, you’ll need to write the necessary path information to the card so the MiSTer will know what file to load. By far the easiest way to do this is by using the script that powers this whole thing. You can load it from the MiSTer’s Scripts menu and choose the second option: Write. From there, you can either select or search for a game from your MiSTer’s storage or craft a custom command to do things like load a specific core, launch a random game, insert “coins” for arcade titles, and more. Then, simply tap the tag to the ACR122U and, beep, you’re done. You can test your unit in the same script by selecting the Read option from the main menu.
The fun part for me was deciding which games to put my stickers into and then opening everything up and sneaking a sticker in there. HuCards are very minimal, and TurboGrafx-16 cases didn’t have a great place to hide the sticker, so I did my best, while Game Boy Advance cartridges required some careful trimming to fit inside without damaging the guts of the NFC token. Another limitation is, once you’re done, loading a game requires some memory of roughly where you stored that sticker, because the field generated by the ACR122U doesn’t reach very far. The spec sheet says it should reach as far as five centimeters (or roughly two inches), depending on the kind of tag used; though, in my experience with both card and sticker formats, it essentially requires touching the object to that USB-connected NFC dongle. I began to think of this finicky behavior — was it this side of the cartridge or the other side? — as a welcome analog to how some carts function in their native hardware. Just give it a little wiggle.
Shortly after taking delivery of the NFC reader and tags, the previously unnamed NFC project was rebranded TapTo, and along with that branding, came a host of additional features that I, in full disclosure, have not taken advantage of yet. But I’d still like to share them with you. The biggest one is this really slick image generator for cards. The TapTo Designer is a web app by Andrea Bogazzi, that “allows you to easily add images, which will be automatically applied to templates and made available to be exported for printing.” Just playing around with the tool already has me thinking about new projects to satisfy this same impulse of trying to bring shape and form to the abstraction of a ROM file.
I just took delivery of a Sega New Astro City arcade cabinet, another 30-year-old piece of technology that I want to take care of forever. Its caps need work, its light strip is broken, the single-player Blast City panel needs to be replaced, and I’m thinking about which arcade games I’ll make NFC cards for.


