There are numerous third-party screen readers available for Windows 11. The most popular ones include Job Access With Speech (JAWS) and NonVisual Desktop Access (NVDA). (Microsoft has a full list on its website.)
But Windows also has a free, built-in screen reader called Narrator. Given the wealth of options that are out there, the majority of people don’t use it as their primary screen reader. But if you’re in that majority, it can be useful if you’re borrowing someone else’s device and can be there in a pinch if you can’t use your preferred software for whatever reason.
If you want to turn on Narrator, there are a couple ways to do it.
How to turn on Narrator with the keyboard
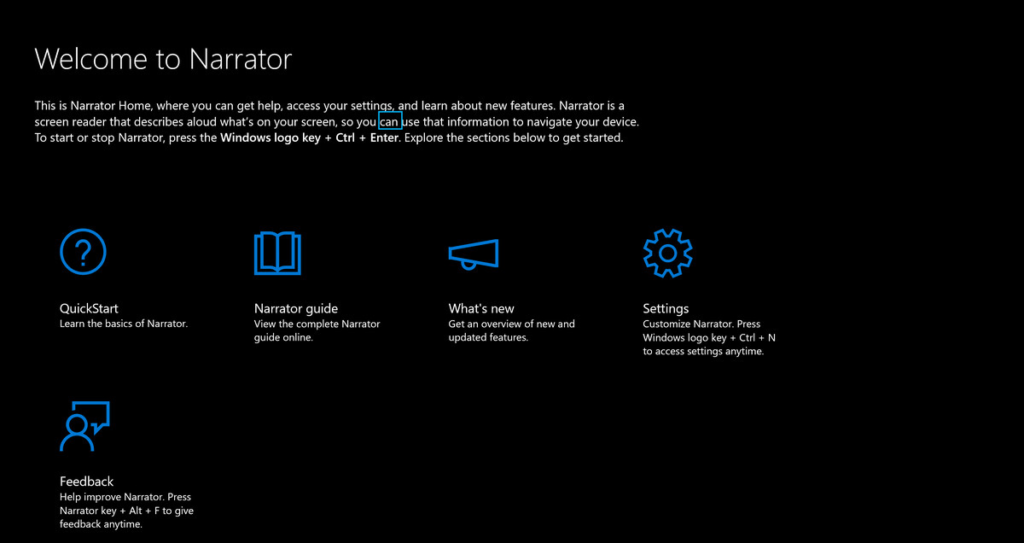
Assuming you’re not using a remapped keyboard, you can turn on Narrator by pressing Control + Windows + Enter. This will start Narrator and will open Narrator Home (where you can learn about Narrator’s features and tweak settings). You can minimize this, and Narrator will still run, or you can exit it to exit Narrator.
How to turn on Narrator in the accessibility menu
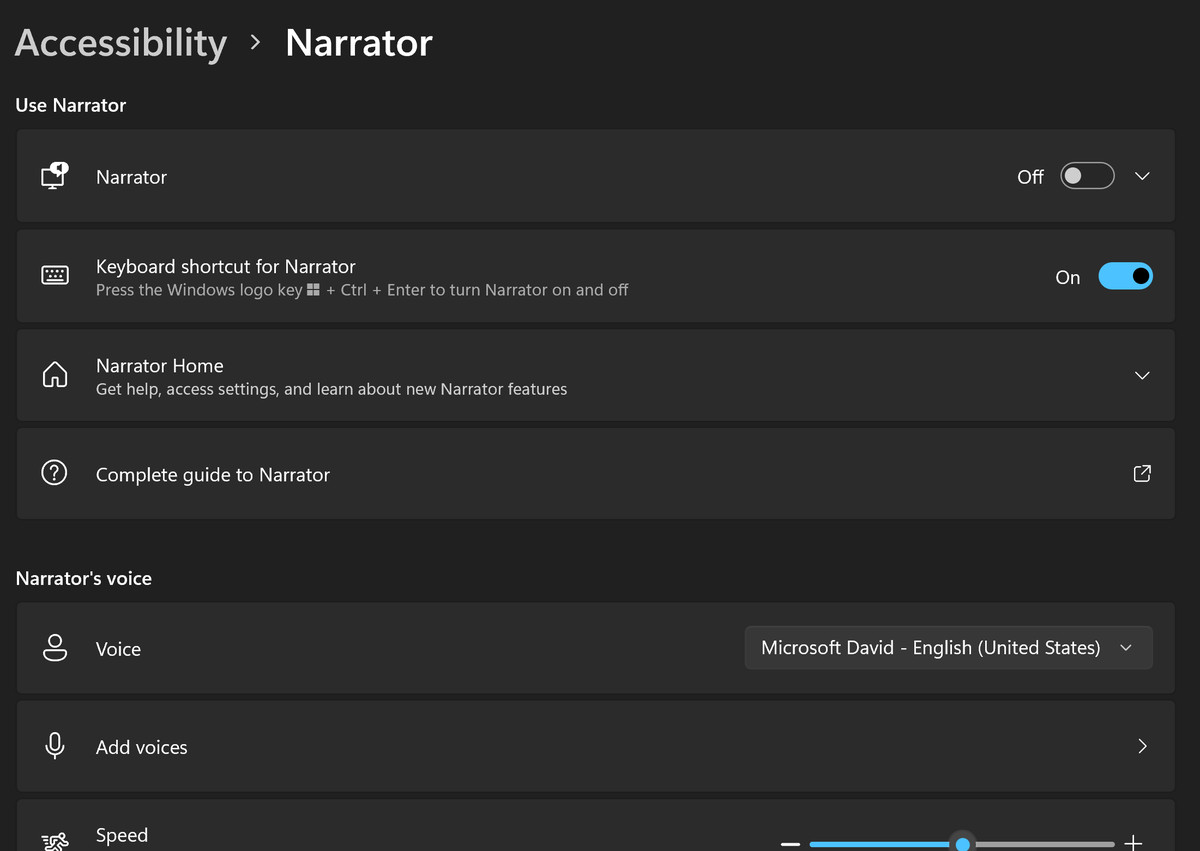
You can also turn Narrator on in Windows 11’s accessibility settings menu. To do this, go to Settings > Accessibility > Narrator.

On this page, you can customize various features of Narrator, including speed, pitch, volume, verbosity, and navigation mode. This is also where you can connect a braille display, sync your settings with other devices, and make other changes that you may need to make. You can turn the keyboard shortcut on and off here as well.
How to turn on Narrator from the dock
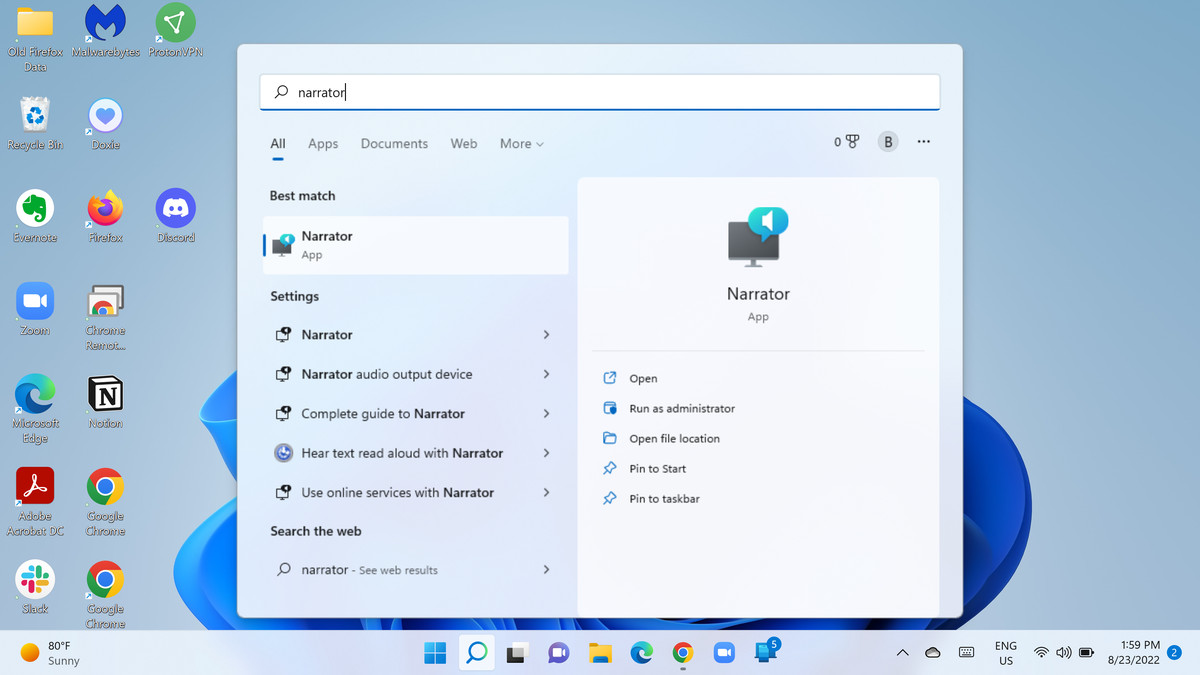
You can also turn on Narrator in the Windows search bar. To do this, click on the magnifying glass in the Taskbar at the bottom of your screen and type “Narrator.”
Type “Narrator” into the text box that pops up and click the first result that comes up. This will start Narrator.

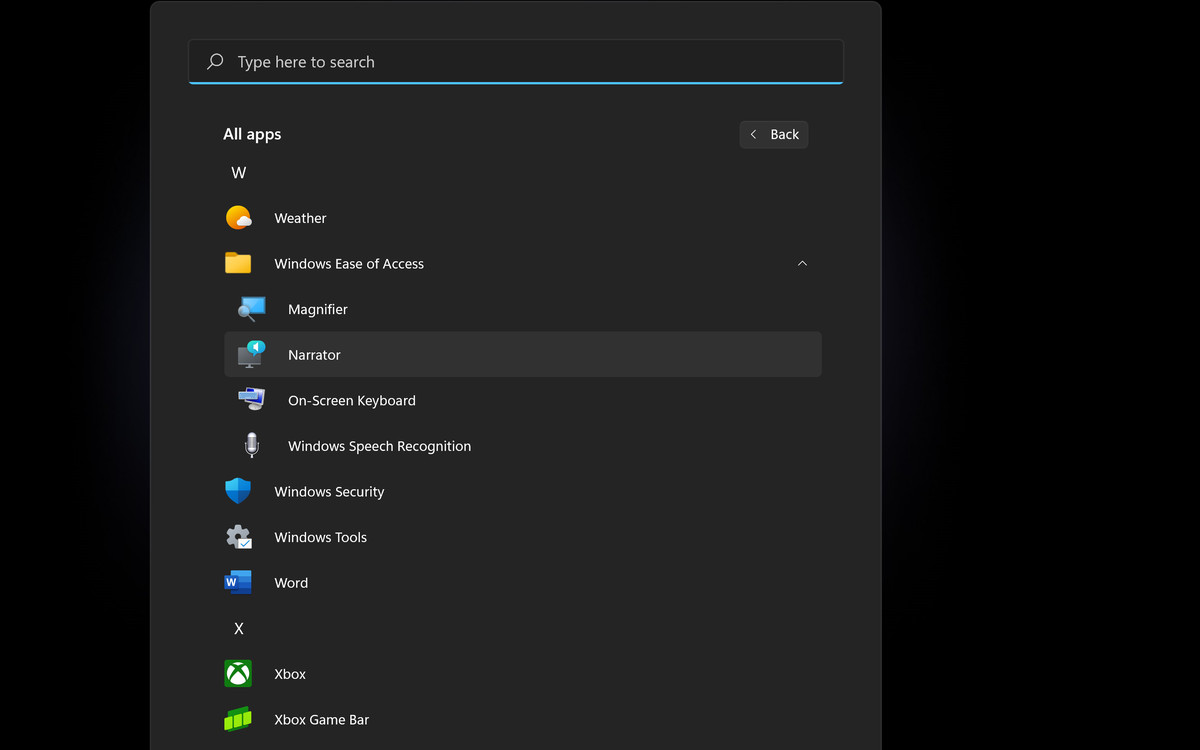
Alternatively, you can click on the Windows logo to open the Start menu, click on All apps, and scroll down to Windows Ease of Access. Click on that, and Narrator will be an option beneath it.


