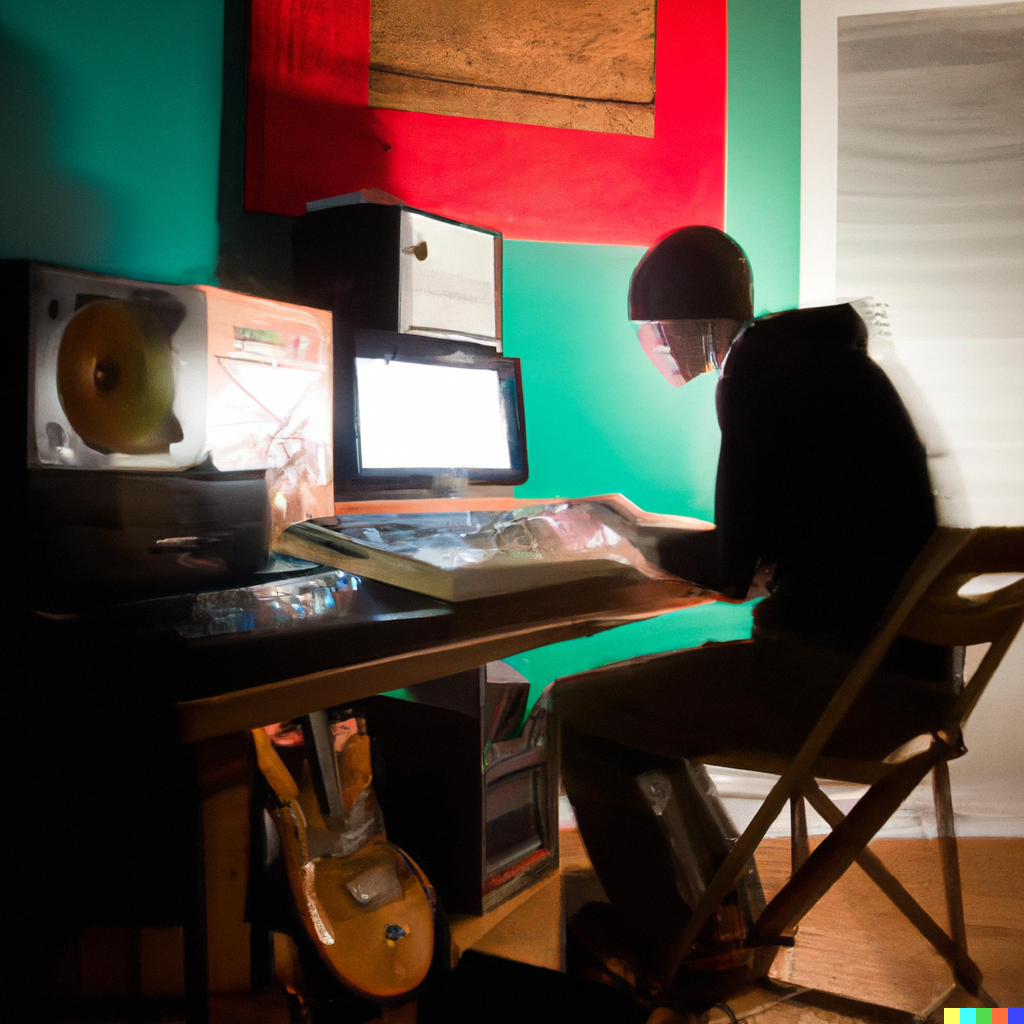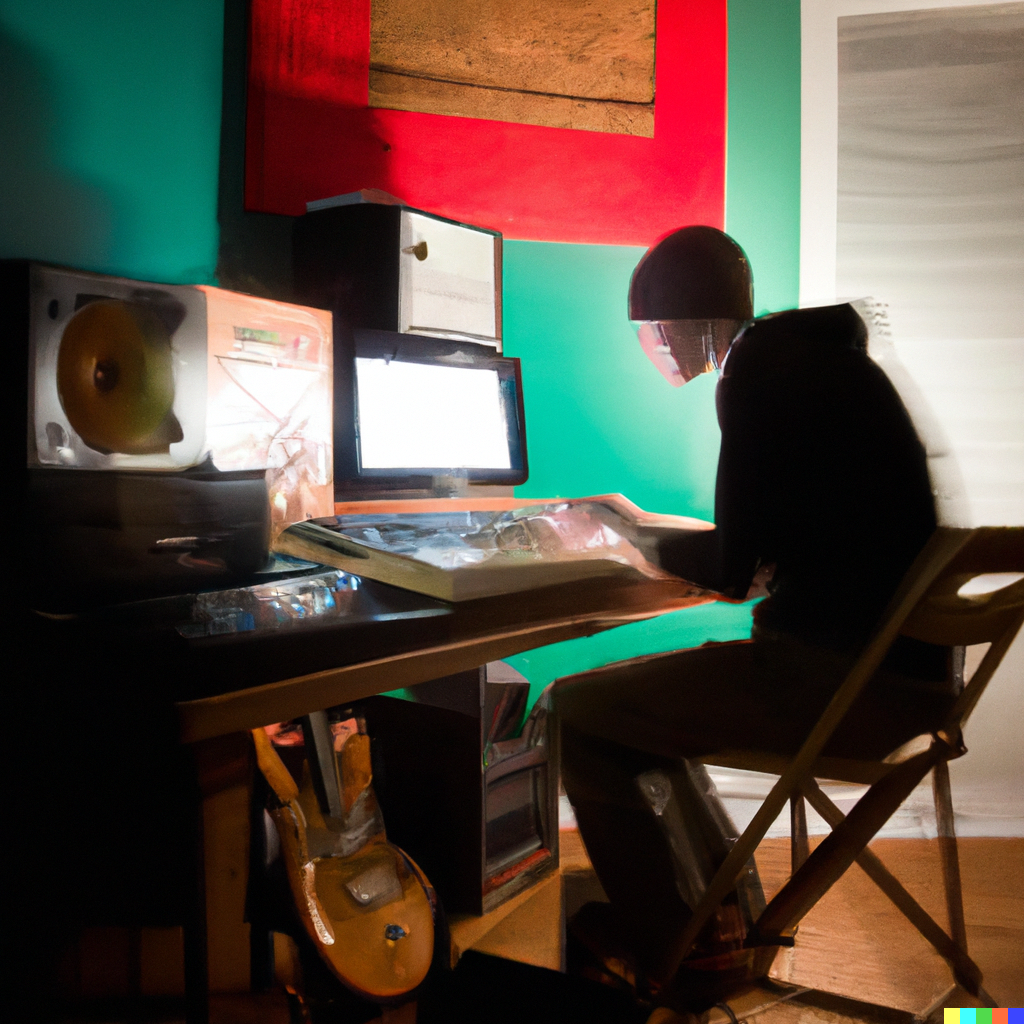
Image created with DALL-E
So you want to produce your own music at home. That’s awesome, join the club. I don’t have the stats on this, but it seems like most indie artists (and even some signed artists) are producing music at home (or in their producer’s home). So to get you started, below is a music production template along with a bunch of helpful production tips.
Before You Start Your Song
Learning music software takes time, so spend lots of time with your chosen digital audio workstation (DAW). Spend as much time as you need on learning and practicing.
When you first start producing music, the tracks will suck. That’s normal. The water from your faucet will flow brown before it eventually runs clear.
This is just a reminder that it’s okay and expected for things to be difficult and crappy at the beginning. But what will keep you going is the passion you have to produce what you hear in your head.
Getting Started (Music Production Template)
Honestly, you can start and produce a song any way you want. Below are guidelines that can help you, but art is subjective so you can break the rules.
I make part of my living by producing artists and I’ve been releasing original music for several years, so I have a decent amount of experience. BUT I am by no means saying this template is the only way to produce a song. As Andrew Huang said in the above video, there are so many ways to produce a song.
This is just one method I use.
With that being said, here is a 10-step template for starting your song…
1. Set the BPM
This needs to happen before you record anything. If you change the BPM after recording, it will distort the instruments.
2. Create a simple beat to keep yourself on time
This can supplement the click track and make it easier to stay on time. I just find it easier to follow than a click by itself. You can remove/mute it later.
3. Record your song front-to-back on your main instrument
This is the backbone of your song. Even if you decide to remove the main instrument later (or remove it during certain sections), you’ll want to have it there so you can start building and structuring the song. Use markers to label Verses, Choruses, Bridges, etc.
4. Record scratch vocals
You’ll record the final vocals later. These rough vocals are just so you know where you are in the song and if any other melodies you add will work with or contradict the lead vocal melody.
5. Start layering in instruments
This is where experimentation comes in. Record the stuff you hear in your head. Just start trying different things on different instruments and see what moves you. My personal rule is that the song I’m producing has to make me feel something and cause some sort of reaction. Smile, dance, get choked up, stank face. It has to move me in some way. If it doesn’t, it needs more work.
6. Use a reference track
Using a reference track is one of the most helpful ways to kickstart your production. Find a song you love, a song you want your track to sound like. Then use it as inspiration as you make production choices. Don’t copy the reference track, just notice which of its elements resonate with you. Then try to incorporate those into your production.
7. Connect the meaning of the song with the emotion of the music
For example, is the song about an anger-filled breakup? Try making the instruments sound gritty and aggressive with distortion, or perform the part to sound angry.
8. Use ebbs and flows
How do you use ebbs and flows? These are ups and downs, aggressiveness and laidback-ness, quieter parts and louder parts. Production is all about contrast. Use fewer instruments in the verses and more in the chorus (or vice versa) to help the chorus stand out.
9. Pay attention to “the drop”
Using contrast in your production helps accentuate “the drop,” which is when your song very obviously reaches the chorus. Maybe the bass and drums finally come in. Or maybe they were in the verse but they drop out during the chorus. Or maybe you go from two layers of vocals to 12 layers. Just make it clear when you’ve reached the most important part of your song.
10. Make sure your song covers a wide range of frequencies
When you’re choosing what instruments to use, remember to include a mix of low instruments, mid-range instruments, and higher sounds. This makes your song sound fuller and more interesting.
How To Transition Between Sections
When transitioning between sections, try removing and/or adding elements in pairs or multiples of pairs. Adding or removing elements makes it clear when you’ve shifted to a new section. For example, going into the chorus, add two layers of electric guitar and/or remove a synth and the beat.
Personally, I love to start with 1-2 layers of the vocal melody, then add several layers of the melody plus a couple of layers of harmony during the chorus.
Another element that helps with transitions is risers. You can either download riser sample packs or make your own. To make your own riser, reverse an element of your production (like a crash, sustained piano chord, or vocal) and make it lead into the chorus. This builds anticipation as the sound increases in volume.
Using a Reference Track
Here’s how you can use a reference track as you produce:
- Drop 2-3 tracks from your favorite artists into your DAW and listen to what you like about each track (or listen on your favorite streaming platform)
- Try to listen to every element of the song intentionally
- Borrow the structure of the reference track for your production (how often changes happen, what elements come and go, using similar transitions/ebbs/flows)
- Look at the big picture – you’re using a reference track as a guide, not a thing to copy or steal
- Try outlining your production based on the reference track(s)
23 Music Production Tips
This video has some super helpful music production tips. Here are a handful of my favorites:
- One DAW is not “the best” – choose one and learn it, but also try to learn a bit of each one
- Trust your creative instincts
- Don’t get stuck on the demo
- Do something outside your comfort zone – failure leads to learning
- Stacking elements is the key to a fuller-sounding track
- Mix a piano with a synth sound to make it sound more natural
- Use different voicings of chords
- Bounce your MIDI tracks to WAV once you’ve decided on the parts
- Less is more – fewer elements can make the whole song shine brighter
That’s enough to get you started. Happy producing!

